Webservers
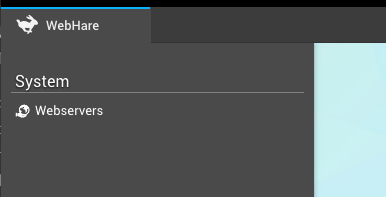
You can set up Webservers using the Webservers application. The application is listed under the "System" group of the WebHare menu:
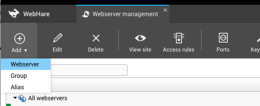
The button bar contains the most often used actions. All actions can also be found in the menu on the far right of the button bar:
![]()
The main screen offers an overview of existing webservers. Three types of server are supported:
| WebHare backend interface server: usually one of these is configured. This webserver provides the webserver for the WebHare interface, allowing users to log on and run applications |
| WebHare output server. This webserver type provides an output webserver, usually to publish a website. |
| Access rules only - no published content. This can be used for redirecting visitors to another location. |
Every severtype supports aliases. There are two types of aliases:
| Alternative hostname: the address will not be changed when the visitor uses this. |
| Redirect: the visitor will be redirected to the main hostname. |
Adding a webserver
- Click the "Add" button and choose "Webserver".
- The "Edit webserver" screen is opened.
- Choose the appropriate settings for your goal:
- Choose the desired webserver type (see the descriptions above).
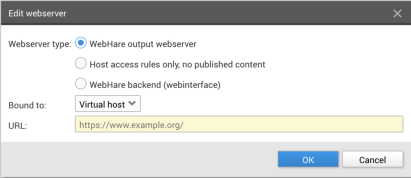
- Choose the binding type; usually this is "Virtual host" (or name based), where the URL domain name is used to look up the corresponding webserver.
- Choose the URL.
- Click "OK" to save the webserver.
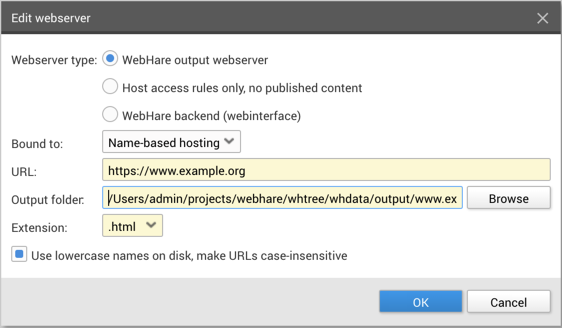
An output folder is automatically choosen. You can change this by editing the created webserver: